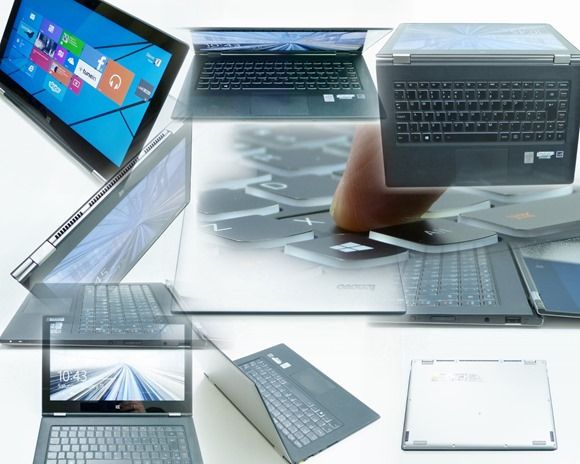
I’ve been having an email conversation with Lance, a photographer, for a number of weeks on the subject of Ultrabooks for Photographers. Lance was looking for a new mobile notebook for his nature photography work and after some testing and a lot of thought from both sides he finally went for the Lenovo Yoga 2 Pro. Lance has now written an article on his requirements and experiences with the Lenovo Yoga 2 Pro and I’m happy to present it here. Read about ‘downrezzing’ and a huge advantage over a desktop system. Read about the problem with Yellow too. Lance has a fix he’s happy with.
I’ve been in the market for a new laptop that meets these requirements for a travelling nature photographer:
- Weight: lighter than 3 pounds
- Size: between 11.6 and 13.3 inch display (tablets are too small for my taste and anything bigger than 13.3 doesn’t fit into my backpack with all my other gear)
- Resolution: as close as possible to 1920×1200, which is what I have on my 24” calibrated monitor at home
- Ports: at least two USB ports (one for a mouse since I need to make precise selections and one for an external drive where I store all my images), plus some kind of port that lets me connect to an external display for presentations
- Performance: fast enough to let me view my images in Bridge or Lightroom with no more than a 1-second delay between images. As a bonus, it would be great if the machine could handle processing images in Photoshop CS6 and CC in a “reasonable” amount of time. Photoshop processing is not required because I only do “real” processing on a calibrated monitor, but it would be nice to have this capability for experimentation on the road.
With help from Chippy’s posts, I decided to go with the Yoga 2 Pro. Here are my findings so far, plus a request for help with one item I haven’t cracked yet.
The Yoga meets or exceeds my requirements for weight, size, resolution, and ports. It’s native resolution is an amazing 3200×1800. Thanks to a tip from Philip Casey (who I met via his posts to Chippy’s Yoga 2 Pro Unboxing video), I downsized the resolution to 1920×1080 to accommodate apps whose labels appear too small at 3200×1800, including Photoshop. It’s still incredibly crisp after downrezzing. Performance is so good that I can hardly believe it.
My home tower machine is a Puget Systems Genesis, purchased in 2011with these components:
- Intel Core third-gen i7 3930K 3.2GHz Six Core 12MB 130W CPU
- 32 GB RAM (8 x Kingston DDR3-1333 4GB RAM sticks)
- Asus GeForce GT 430 1GB Silent Video Card
- Two SSD’s (Intel 320 160GB SATA II 2.5inch SSD Hard Drive plus Intel 320 80GB SATA II 2.5inch SSD Hard Drive)
- Antec P183 V3 chassis and Asus P9X79 Deluxe motherboard
My Yoga 2 Pro is the fourth-gen i7 model with 8 GB RAM, one 256GB SSD and the Intel HD 4400 graphics card.
The performance test was to see how long it takes to save a processed tif in Photoshop CS6 and Photoshop CC, which I have loaded with identical settings on both machines. Here are the test details and workflow:
- Test file: a 22.8 MB raw (aka .CR2) file taken with a Canon 5DII
- Open the file in Photoshop ACR. Apply ACR adjustments and open in Photoshop proper.
- Duplicate the Background layer. Apply Shadows and Highlights.
- Duplicate the Shadows and Highlights layer (physical layer, not an Adjustment layer) and apply Levels
- Duplicate the Levels layer and apply Curves.
- Save as .tif.
On the Genesis, the Save takes 25 seconds to complete. On the Yoga (I swear this is true), it takes less than 5 seconds. Enough said about performance. [Chippy: I’ve done a similar TIF-save test and a 1GB file was completed in 4 seconds. The SSD is FAST! Read our review.]
My Yoga came with the problem mentioned by many others regarding the color Yellow. Initially, Yellow was displayed as a muddy-ish brown, which some folks call Mustard. The solution from Lenovo is to apply two updates: a BIOS update (which already was installed on my Yoga) and an Energy Management update.
To ensure you’ve applied the fix, use Photoshop or any other app to create a layer of true RGB Yellow: #FFFF00 (Red=255, Green=255, Blue=0). The before/after comparison will be obvious.
I’m extremely happy with the Yoga 2 Pro. It does a great job with Photoshop.
Here’s a problem I haven’t solved, and I would certainly appreciate any suggestions: Windows 8.1 provides Color Management (Control Panel-Screen Resolution-Advanced-Color Management). The default icc profile is “sRGB display profile with…” (file name CalibratedDisplayProfile-3.icc). Windows 8.1 offers several other icc choices. When I try to change it to Adobe RGB (1998), after I press all the buttons including Apply/OK, nothing changes. Any help, please? Thanks.
Thanks to Lance for the feedback. If you’ve got a recent Ultrabook and want to present an article on your experiences, contact me with your idea.


