We’re happy with the Toshiba Z830 that Intel sent to us for a long-term loan. It’s a fast, lightweight and well-connected Ultrabook. We’ve already dropped in a 4GB RAM module to take it up to 6GB but there’s one more thing we can do to pimp it out – upgrade the SSD.
We contacted MyDigitalSSD with the plan and they kindly sent us a 256GB BulletProof mSATA SSD with SATA III interface. Not only are we going to see over double the usable space on our drive, we’re going to be upgrading to a drive that in theory can push 500GB/s through the bus.
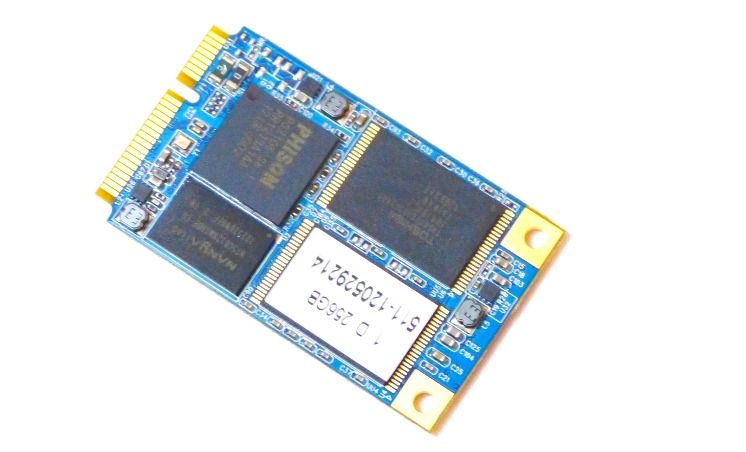
This article will show you how to upgrade an existing SSD but before you start, here’s your checklist.
- External USB HDD with enough space to store the used space on your laptops SSD
- External CD/DVD Writer (if none built-in) for creating the boot/restore disc
- New SSD (For the Toshiba Z830/Z835 an mSATA SSD)
- Small cross-head screwdriver. PH1 or similar
- Torx screwdriver T-7
Notes
Clean your SSD to speed up the process. Remove unwanted software, games, videos and other large files to speed up the imaging and restore process. In this text we removed a large number of video files from our travels and removed three games that were, in total, taking about 40GB of SSD space.
***There’s always a risk that something will go wrong so back-up your important files before imaging the disk.***
***Opening your laptop casing can void the warranty***
The actual SSD upgrade on the Z830 is very easy and can be done in 10 minutes but imaging and restore can take 30 minutes each.
This is a non-destructive process. Your original SSD will be left in it’s current state and can be swapped back in at any time.
The whole process is shown in a video below.
Part 1 – Imaging the existing disk using Windows 7 Backup and Restore
On your Windows 7 Ultrabook run ‘Backup and Restore.’ The easiest way to find it is to press the windows key and type ‘backup.’ You’ll see it listed as a program so just hit enter to start the program. Select “Create a System Image”
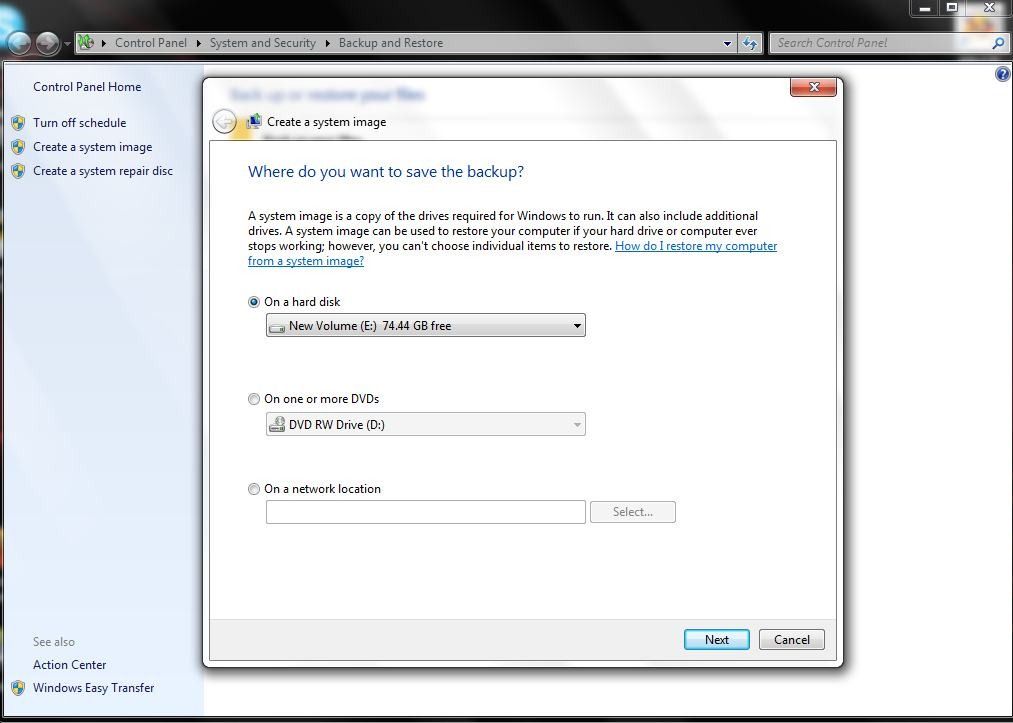
Select the external hard drive and “Next”
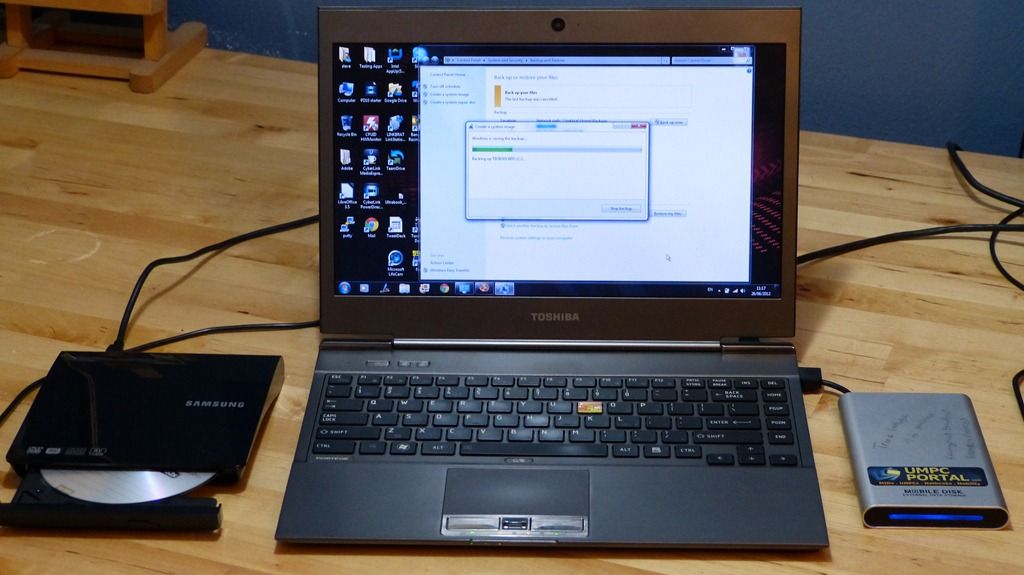
After that process is complete (expect 15-60 minutes depending on how full your SSD is and how fast your external drive is) select “Create a system repair disc.” This will allow you to burn a restore disc to the USB CD writer.
Before you swap the SSD, just try and boot from the USB CD/DVD drive by pressing F12 a few times after the power button and selecting ‘ODD’ as the boot drive. If it boots into the recovery program everything should be OK to progress to swapping the SSD.
Note: I’m using a new Samsung SE-208 USB2.0 DVD writer here. It was cheap (€34), it is powered from the USB ports and it looks good!
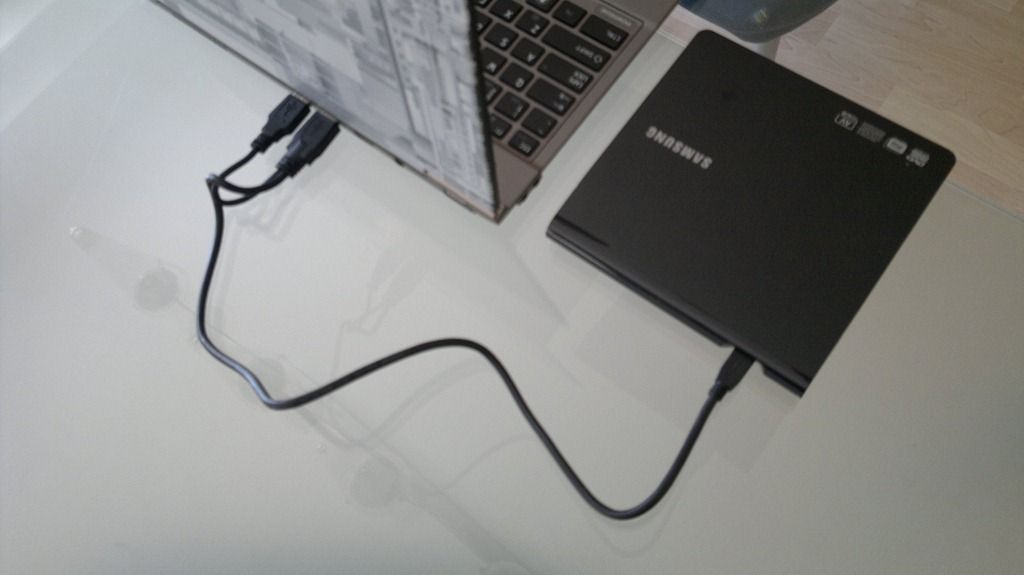
Part 2. Upgrade the SSD.
The process here will vary depending on the laptop but the Toshiba Z830 is an easy Ultrabook to upgrade. 11 short cross-head screws, 2 longer cross-head and one torx screen in the middle underneath the plastic cover.
You’ll find the SSD on the top-right. Undo the two screws, pull the SSD out and push the new one in. Screw the SSD down. Note: Ideally you should use anti-static protection at this stage but briefly touching the rear casing of a desktop PC or any grounding point should minimize the risk.
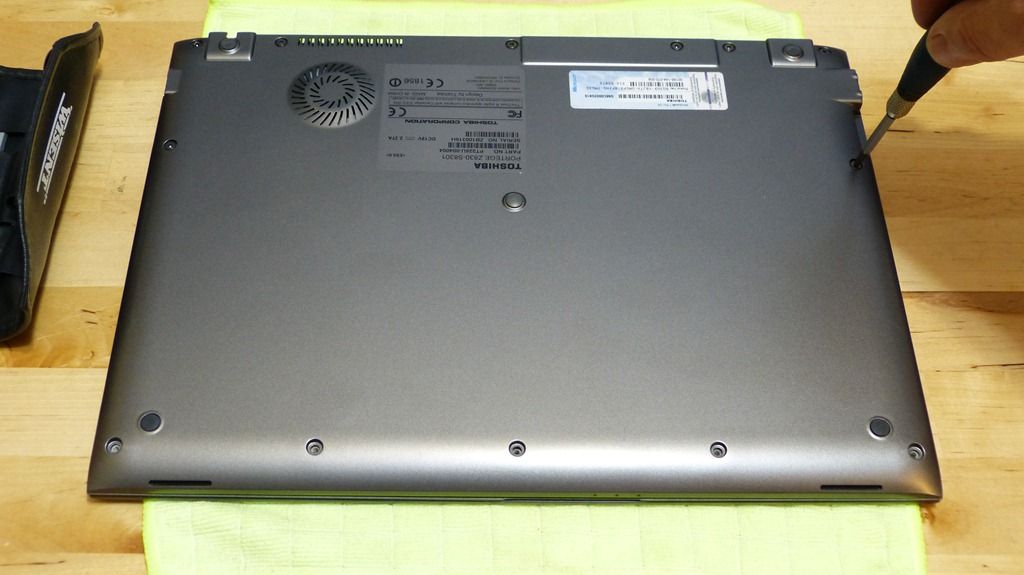
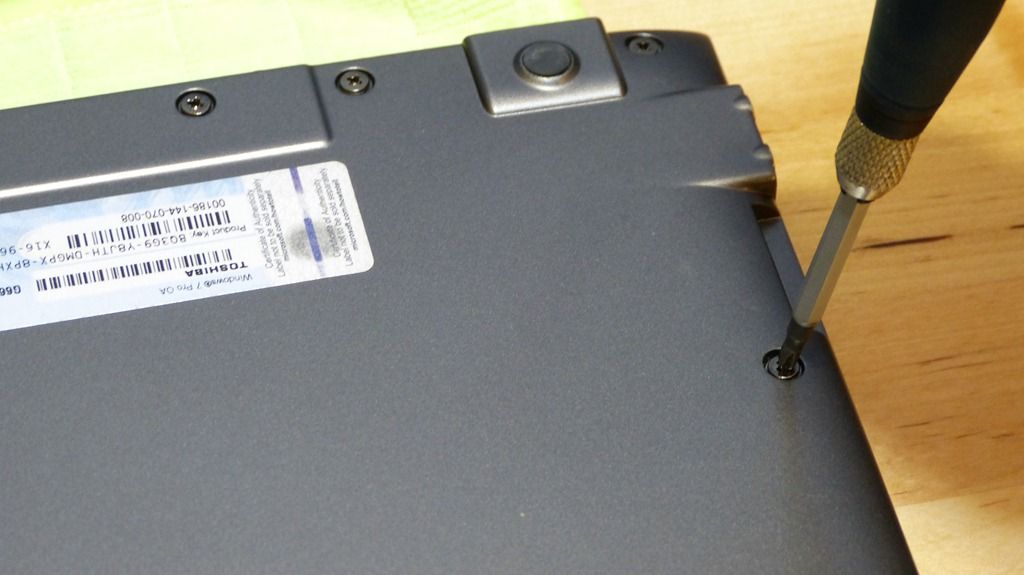
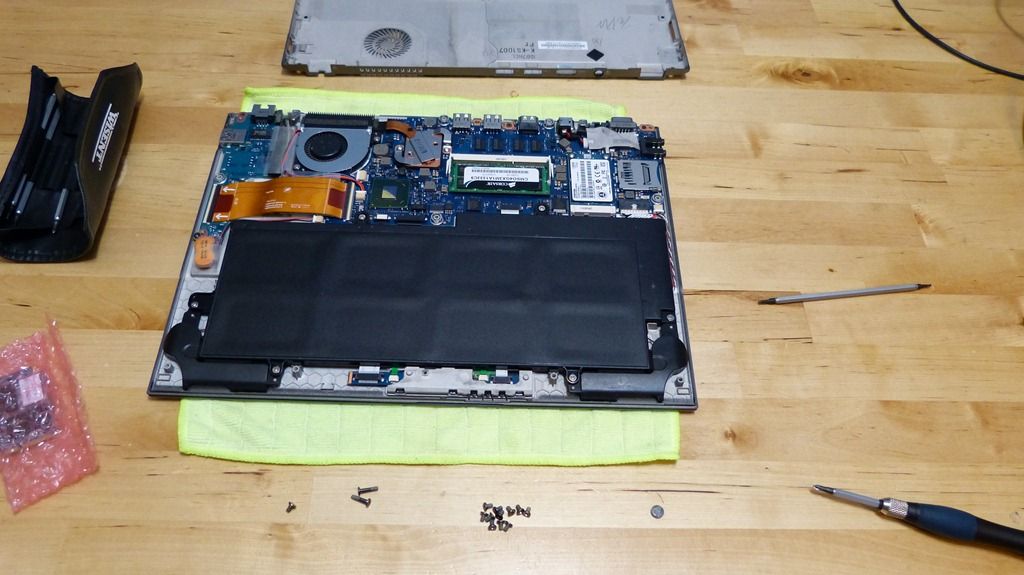
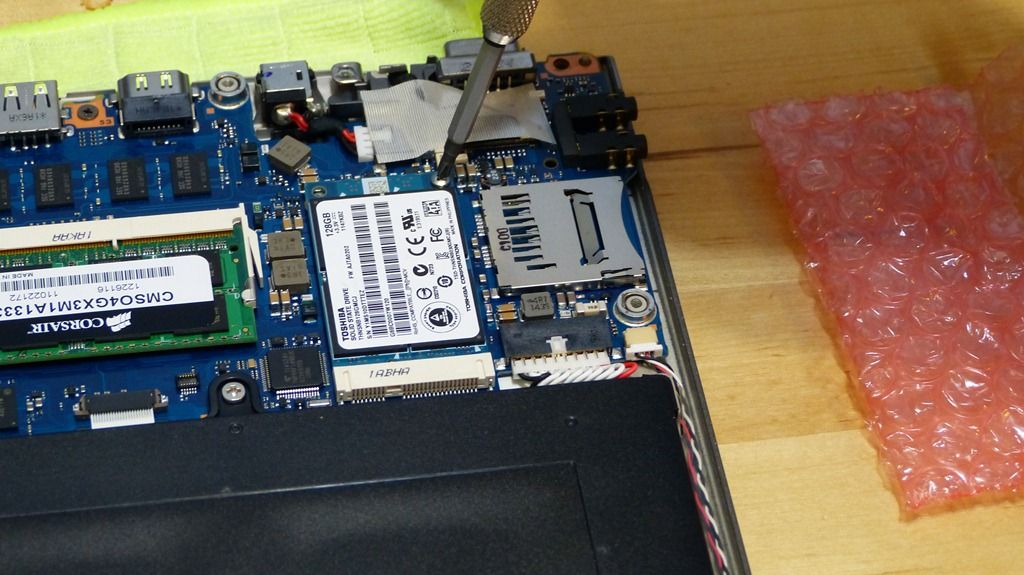
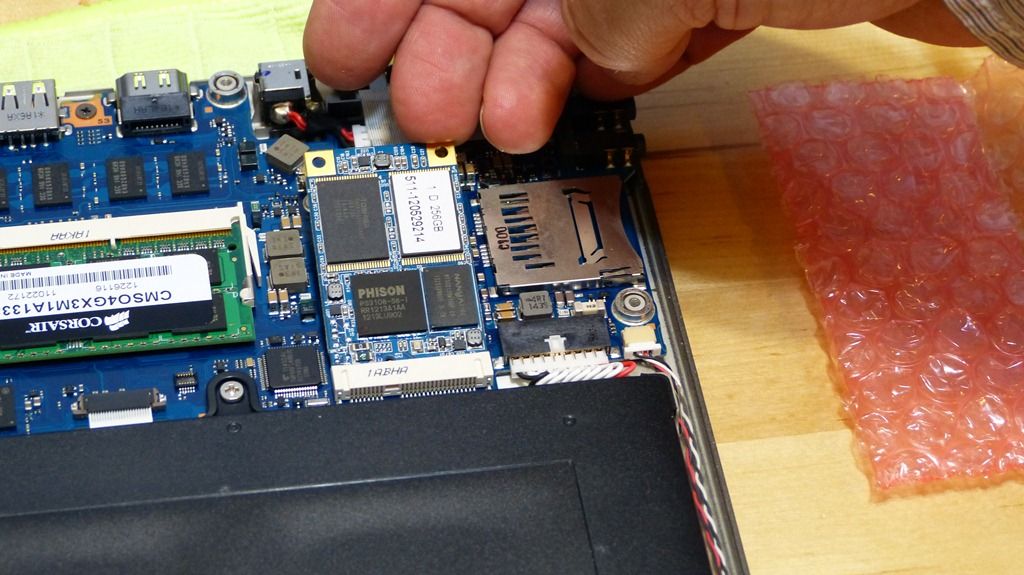
Part 3 – Restore the image
Re-connect the mains power, USB CD/DVD and USB HDD and power-on the Ultrabook. On the Toshiba Z830 press F12 to access the boot menu and select the ODD (optical disk drive) as the boot drive. You should hear the CD spin-up and see “Windows is loading files…” on screen.
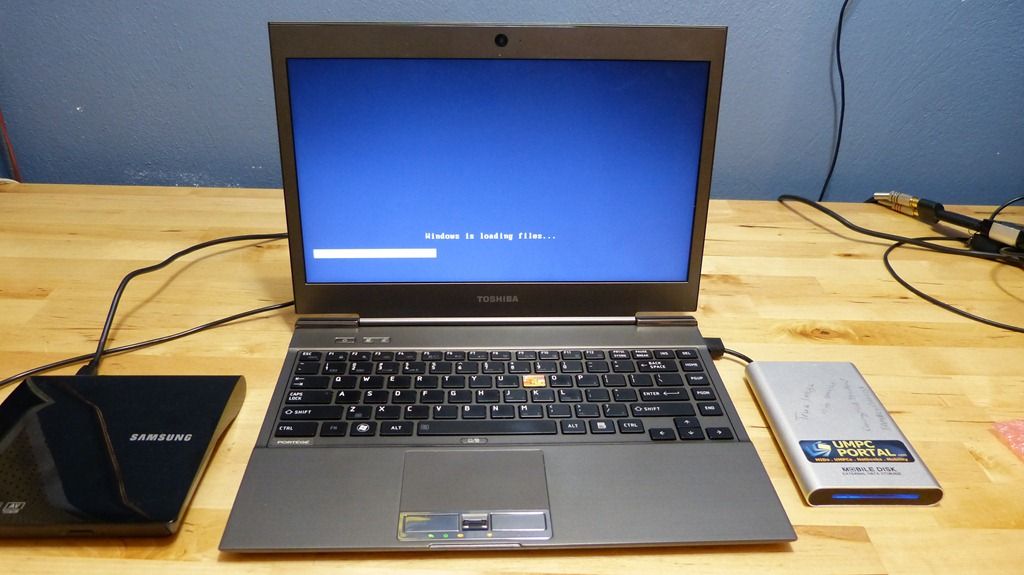
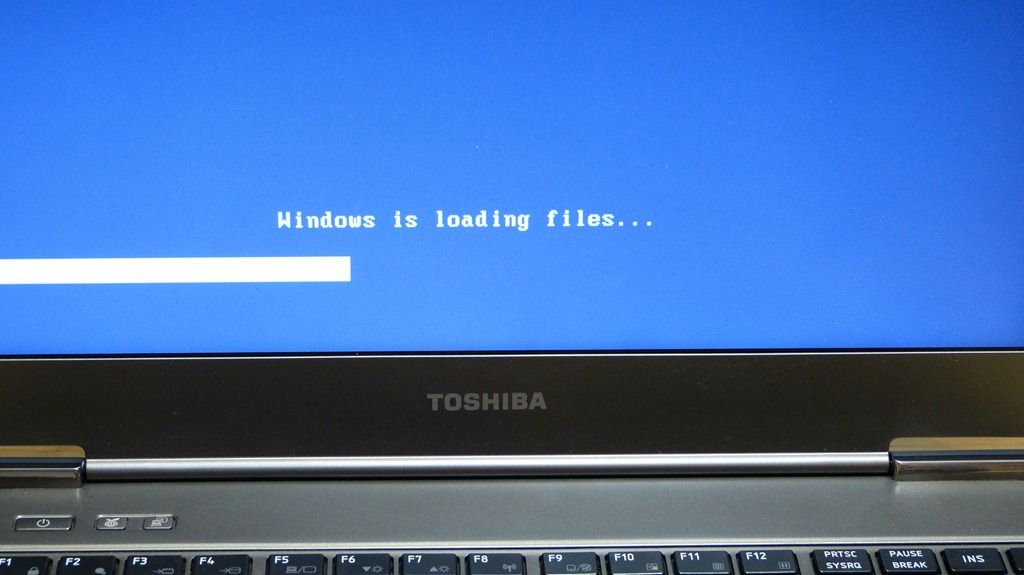
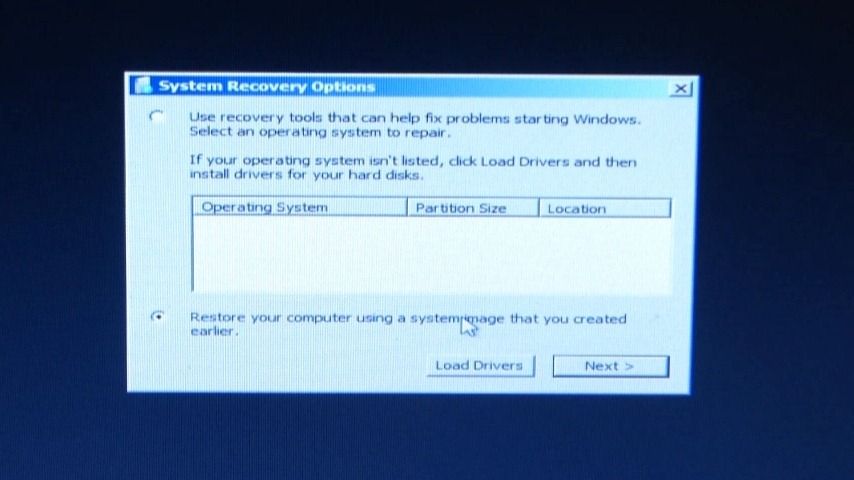
When you get into the restore program, select “System Recovery Options.” The restore program should detect the image once you select the default “Restore your computer from a system image you created earlier.”
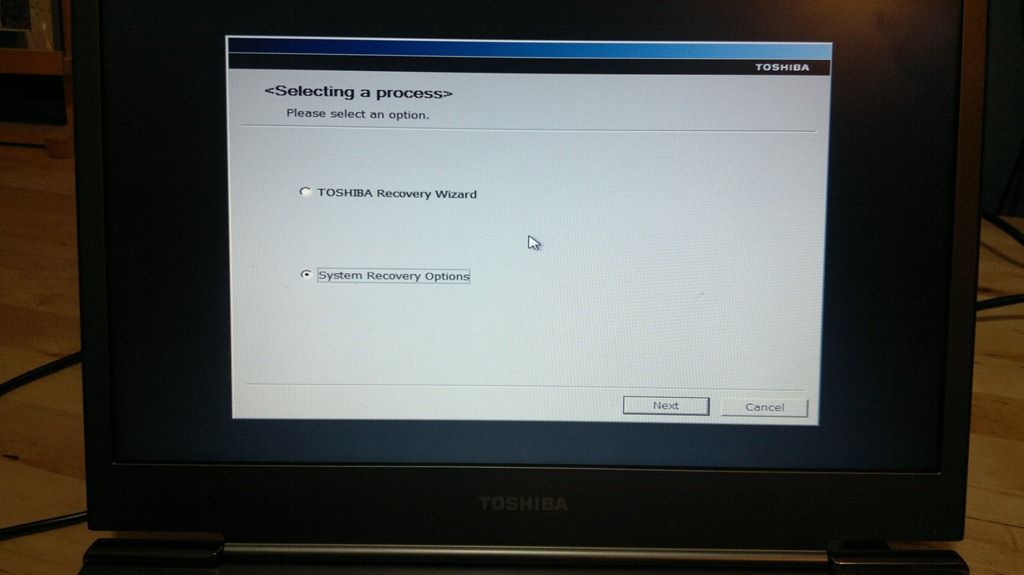
The image will be detected on the C: drive (the USB HDD) and you can select the default options to format the SSD, create the matching partition sizes and start the restore…
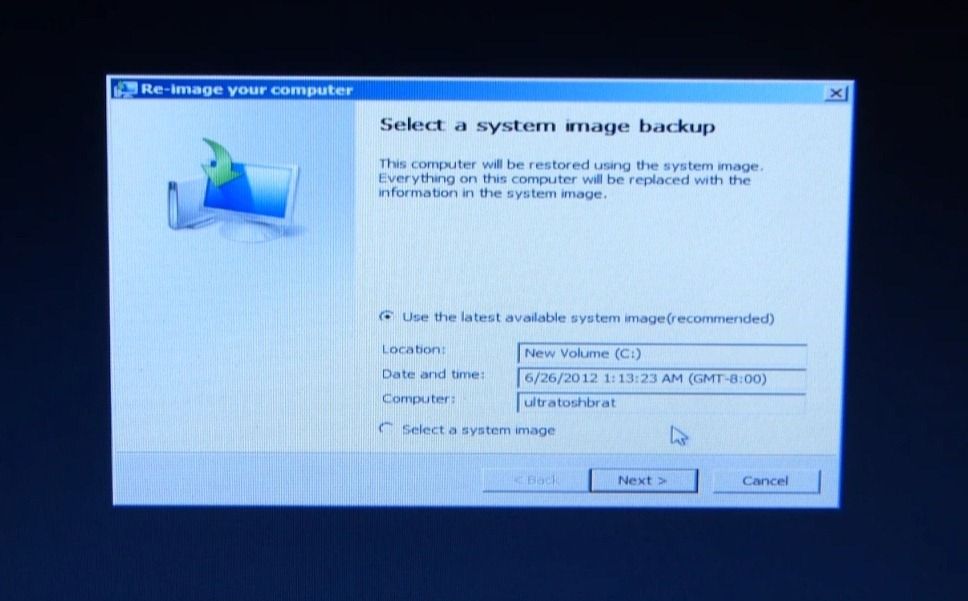
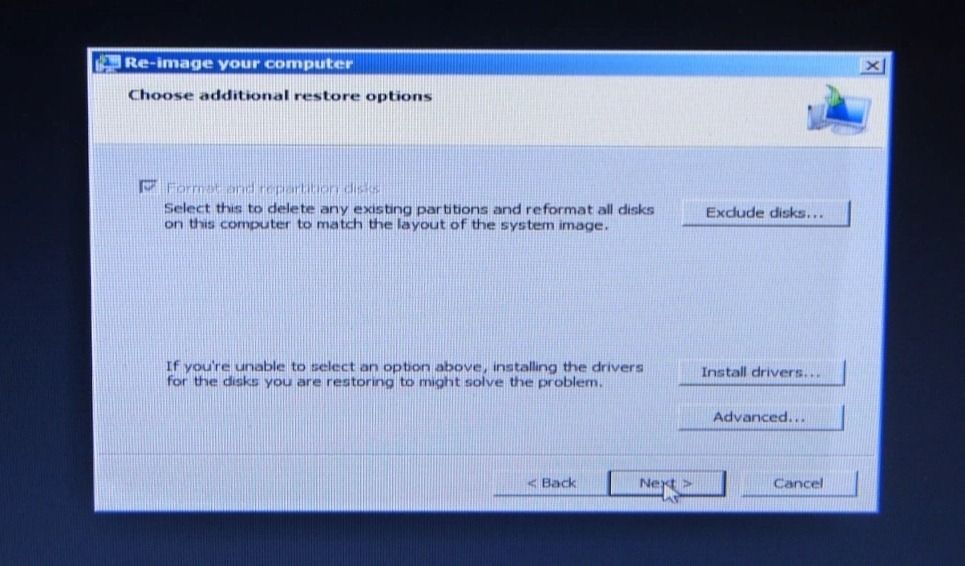
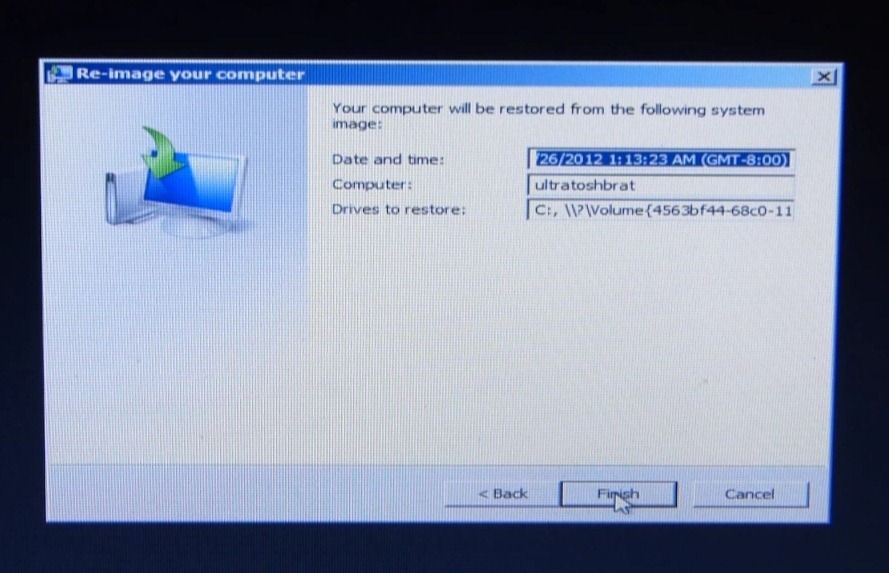
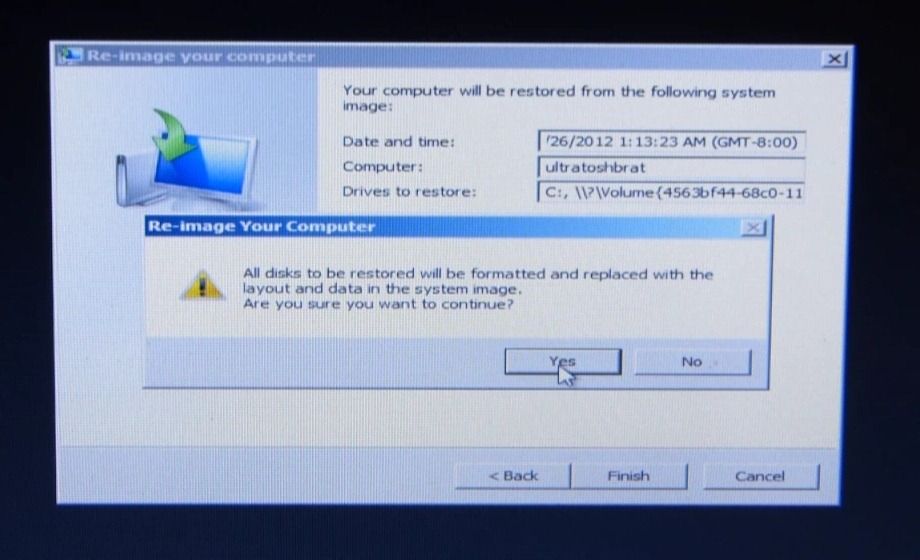
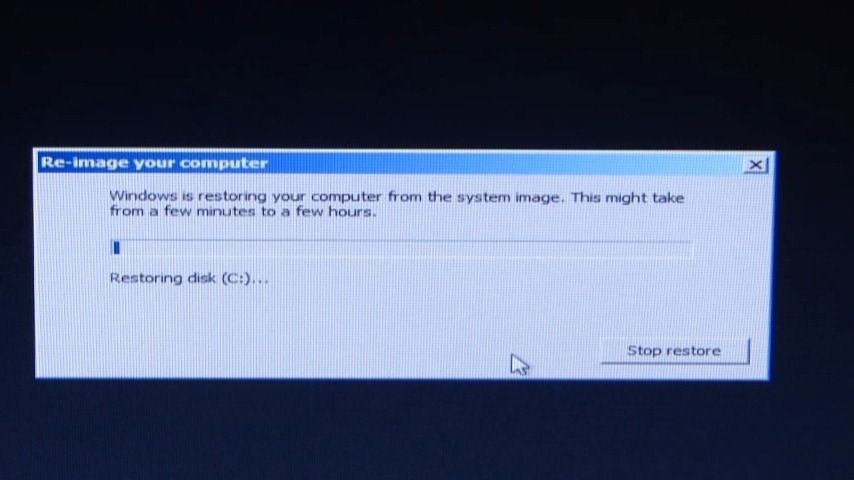
The restore process takes roughly the same time as the image creation process from part 1 and if left, will reboot the Ultrabook into the new SSD. At this stage the restore is complete. Log-in and you should see everything just as you left it.
You won’t see the additional SSD space until you enable the new partition…
Add the new partition using “Computer Management” (press the Windows key and type “manage” and you should see it in the list. Select Disk Management and you’ll see an unused partition on the new SSD drive. Right click to create the partition and format it. With seconds the new drive will appear with all the unused space on the SSD.
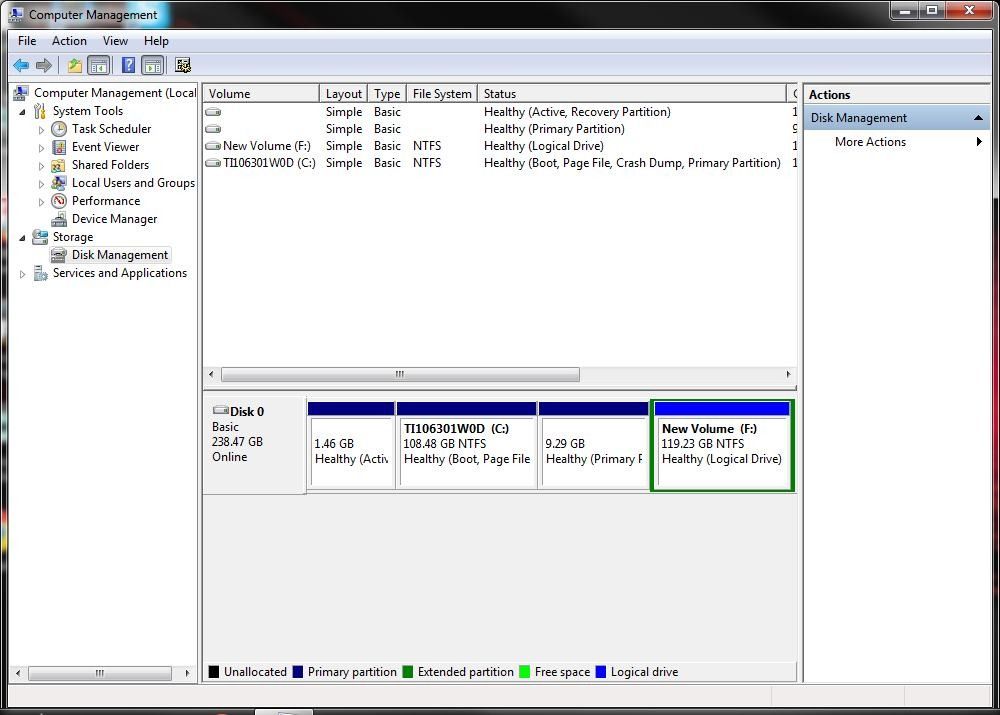
At this stage you have a restore image on HDD and the original SSD. You can choose to delete the original restore partition if you wish but we recommend leaving this for a full factory reset if needed at a later stage.
Clearly there are options for moving files, changing the home directory drive and re-partitioning the drive if you have the tools.
Test results and video tutorial follow on the next page.
Pages: 1 2


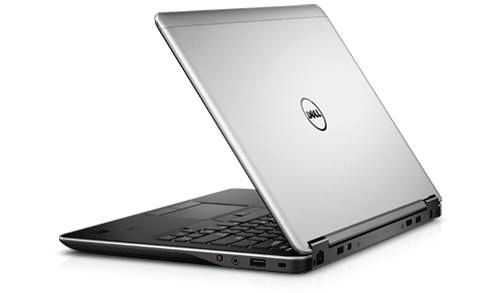


This IS the mSATA drive to beat!
SSD Review has been raving about it for quite some time. It’s a shame that mSATA is still so much more expensive than the 2.5″ drives, though…
Adam
The bus on the Toshiba is NOT operating in SATA III mode; an SSD Review author has claimed that he has found a way to re-enabled it despite Toshiba support claiming that it’s impossible.
Lenovo also has a history of disabling SATA III support when the motherboard chipset and all components would otherwise support it. The prevailing theory is that it helps battery life numbers but I’ve never seen it tested in both modes to confirm.
It’s REALLY annoying when MFGRs hobble hardware like this.
Adam
I’ve been following the SSD Review information but it seems they never came forward with a reason why it was working.
I’ll be re-building with Windows 8 next week to see if it has an effect.
Anyone know if Micron/Crucial, Samsung or Intel are coming out with new retail mSATAs?
I’m waiting for Crucial and Samsung to come out with commercially available mSATAs too. If they don’t cost much more than MyDigitalSSD then I’d just go with them.
Anyone know what’s the rated write endurance on these BP3s in TBW? To me, that’s a more useful number than the MTBF. Thanks.
I’m planning on buying a small mSATA SSD to boot Ubuntu on my Lenovo X230. I’m just waiting until the Ivy Bridge graphics drivers get stable enough for the current LTS release (there’s some known freezing and crashing right now). Hopefully, by then, there will be many companies to choose from.
Do these suffer the same issues as the previous MyDigitalSSD BulletProof SSDs? This thread: forum.notebookreview.com/solid-state-drives-ssds-flash-storage/643829-mydigitalssd-msata-ssd-64gb-very-bad-performance.html mentions slow performance, freezing, crashing, etc. I’m looking for a 64 GB mSATA.
The issue you are referring to was only with that one 64GB model and it only effected a few systems. The cause has yet been determined. We sold thousands of those 64GB Drives and have to date only received around 10pcs back due to that issue. You will know it instantly if your system has this issue you will get HDD type speeds out of it in testing. We have a 100% satisfaction guarantee on all of our SSD so even if you win the bad luck lotto you are all set.
I’ve read about these SSDs and I’ve actually tried to find one before, but couldn’t locate anyone who sells it in Sweden. I saw that there’s a retailer in GB – but I’d like one closer. Anyone in Germany?
I’d love to pop one of these into my next laptop, be it the zenbook or series 9.
I replaced SSD and clean installed W7pro.
I install only driver: Chipset, WiFi, Display, SDcard, BT, FlashCard.
Intel Rapid Start and Intel AT disabled in BIOS.
Now I have 12% self discharge per day…
Chippy, do you have discharge?
Here my SSD test:
http://forum.notebookreview.com/attachments/solid-state-drives-ssds-flash-storage/77080d1333606424-mydigitalssd-bullet-proof-128gb-msata-review-z835ssd.jpg
Interesting. I’ll keep an eye out for this and let you know if I see anything. Thanks for the heads-up.
I doubt it is related to the SSD.
This may help you out.
http://forum.notebookreview.com/lenovo-ibm/166856-t61-p-battery-self-discharge-hibernate-mode-2.html
Would love to see a similar article for the S9 15″ please.
Unfortunately I don’t have the S9 15″ at the moment. My feeling is that it would benefit more than the Z830 because of the relatively low small-block speeds.
Is this the one with the SandForce controller or the other (Phison?)?
Nm, I saw it said Phison on the picture. ;)
What’s the benefit of this drive compared to existing SATA II mSATA SSDs? It seems to have the same or lower speeds compared to others and it’s also around the same price.
Nothing really. Even if you do get SATA III speeds, you wouldn’t notice outside of benchmarks unless you’re transfering large files on the order of gigabytes each all day. The noticeable feeling of increased speed is largely due to low access times. Some SSDs have access times in the 10s of microseconds. It’d be great to see these numbers in benchmark reviews too.
They use both 3rd party flash and controllers just like a lot of the others (OCZ, Kingston, ADATA, Mushkin, etc.). I’d just buy the cheapest among those or pay a little bit more if/when Samsung, Intel or Crucial/Micron comes out with consumer mSATA SSDs.
Chippy, thanks for a useful guide – debating whether to void the warranty by doing this.. doesn’t look too complicated anyway :) Is there any restriction on the size of the mSATA drive on the z830 bios?
Does not work in Samsung Slate 7 or Acer Iconia Tab W500. And you upgrade the firmware for the controller Phison S8.
Dear Chippy,
Great tutorial. I’m using an older R700 and upgraded to an SSD (Corsair 240GB), but not the Force GT one. No issues there, but was thinking of getting an ASUS UX32VD. The only problem is that I really like/need the finger print reader on the Toshiba Ultrabooks, but unfortunately the ASUS does not come with one. Now, is there any way to “hack” a finger print reader and make it work as seamlessly, into an ASUS UX32VD? -With login fingerprint scanning on bootup, etc.? I’m pretty handy with a Dremel and soldering, etc., so I would be thrilled if there is any way to achieve this. I have done a lot of scratch building during my RC-car days, so I’m confident to take on any modding job. Eagerly awaiting your response. Sincerely, Jin
Dear Chippy,
Can I assume that the same upgrade can be performed on the Toshiba Z930?
Our Z930 has only 128GB which may be insufficient in a year or so.
Your comments please.
This works for z930?
This is really attention-grabbing, You are an overly professional blogger.
I’ve joined your rss feed and look ahead to in the hunt for more of your magnificent post. Also, I’ve shared your web site in my social networks
Hey,
my z830 broke 3 months after I bought it, so I bought a yoga after everywhere i looked basically told me it would take $500 to repair.
I was wondering could i strip the z830 down for parts and use the SSD in my desktop? and possibly use the RAM to upgrade my yoga?
Mike –
You can actually use the mSATA drive in the Yoga… The yoga has 2 msata ports and only one is occupied… I was really leaning towards getting one, but I know the price is going to drop by quite a bit this summer when more win 8 hardware comes out with the new intel chip releases..
What combination i have to choose that the ultrabook starts with the recovery data ?
I really appreciate this tutorial but you should add to the tools list that the Torx T-7 needs to be for tamper-proof Torx screws, ie, with the hole in the end of it. :-)
Hello Everybody i’m Andy and I’m from Switzerland.
I installed a few weeks ago a new ssd to 240GB BP4 in my toshiba satellite Z830. So far so good.
But as soon as I started the computer, the battery was no longer detected!
I know that the ssd works fine, but just since I made ??the change of ssd, the battery seems to be dead.
Someone has already happened?
And if so, found a solution?
sorry for my english :)